Auto-Profiles with iTerm2
My favourite terminal is, without heasitation, iTerm2. Everytime I’ve switched to a new macOS, one of the first steps is always installing it. Right away.
Not only that the personalisation it offers is a delight, but also, the automatisation features to make your terminal experience a lot smoother.
I could jump in with all of those, but today I’d like to talk about one of the latest I’ve playing with: Profile Triggers.
But first, you must understand the meaning of the word Profile.
iTerm2 Profiles: a dress for every ocasion
A Profile on iTerm2 is a set of features that are packed up altogether, so you can easily switch to another one easily.
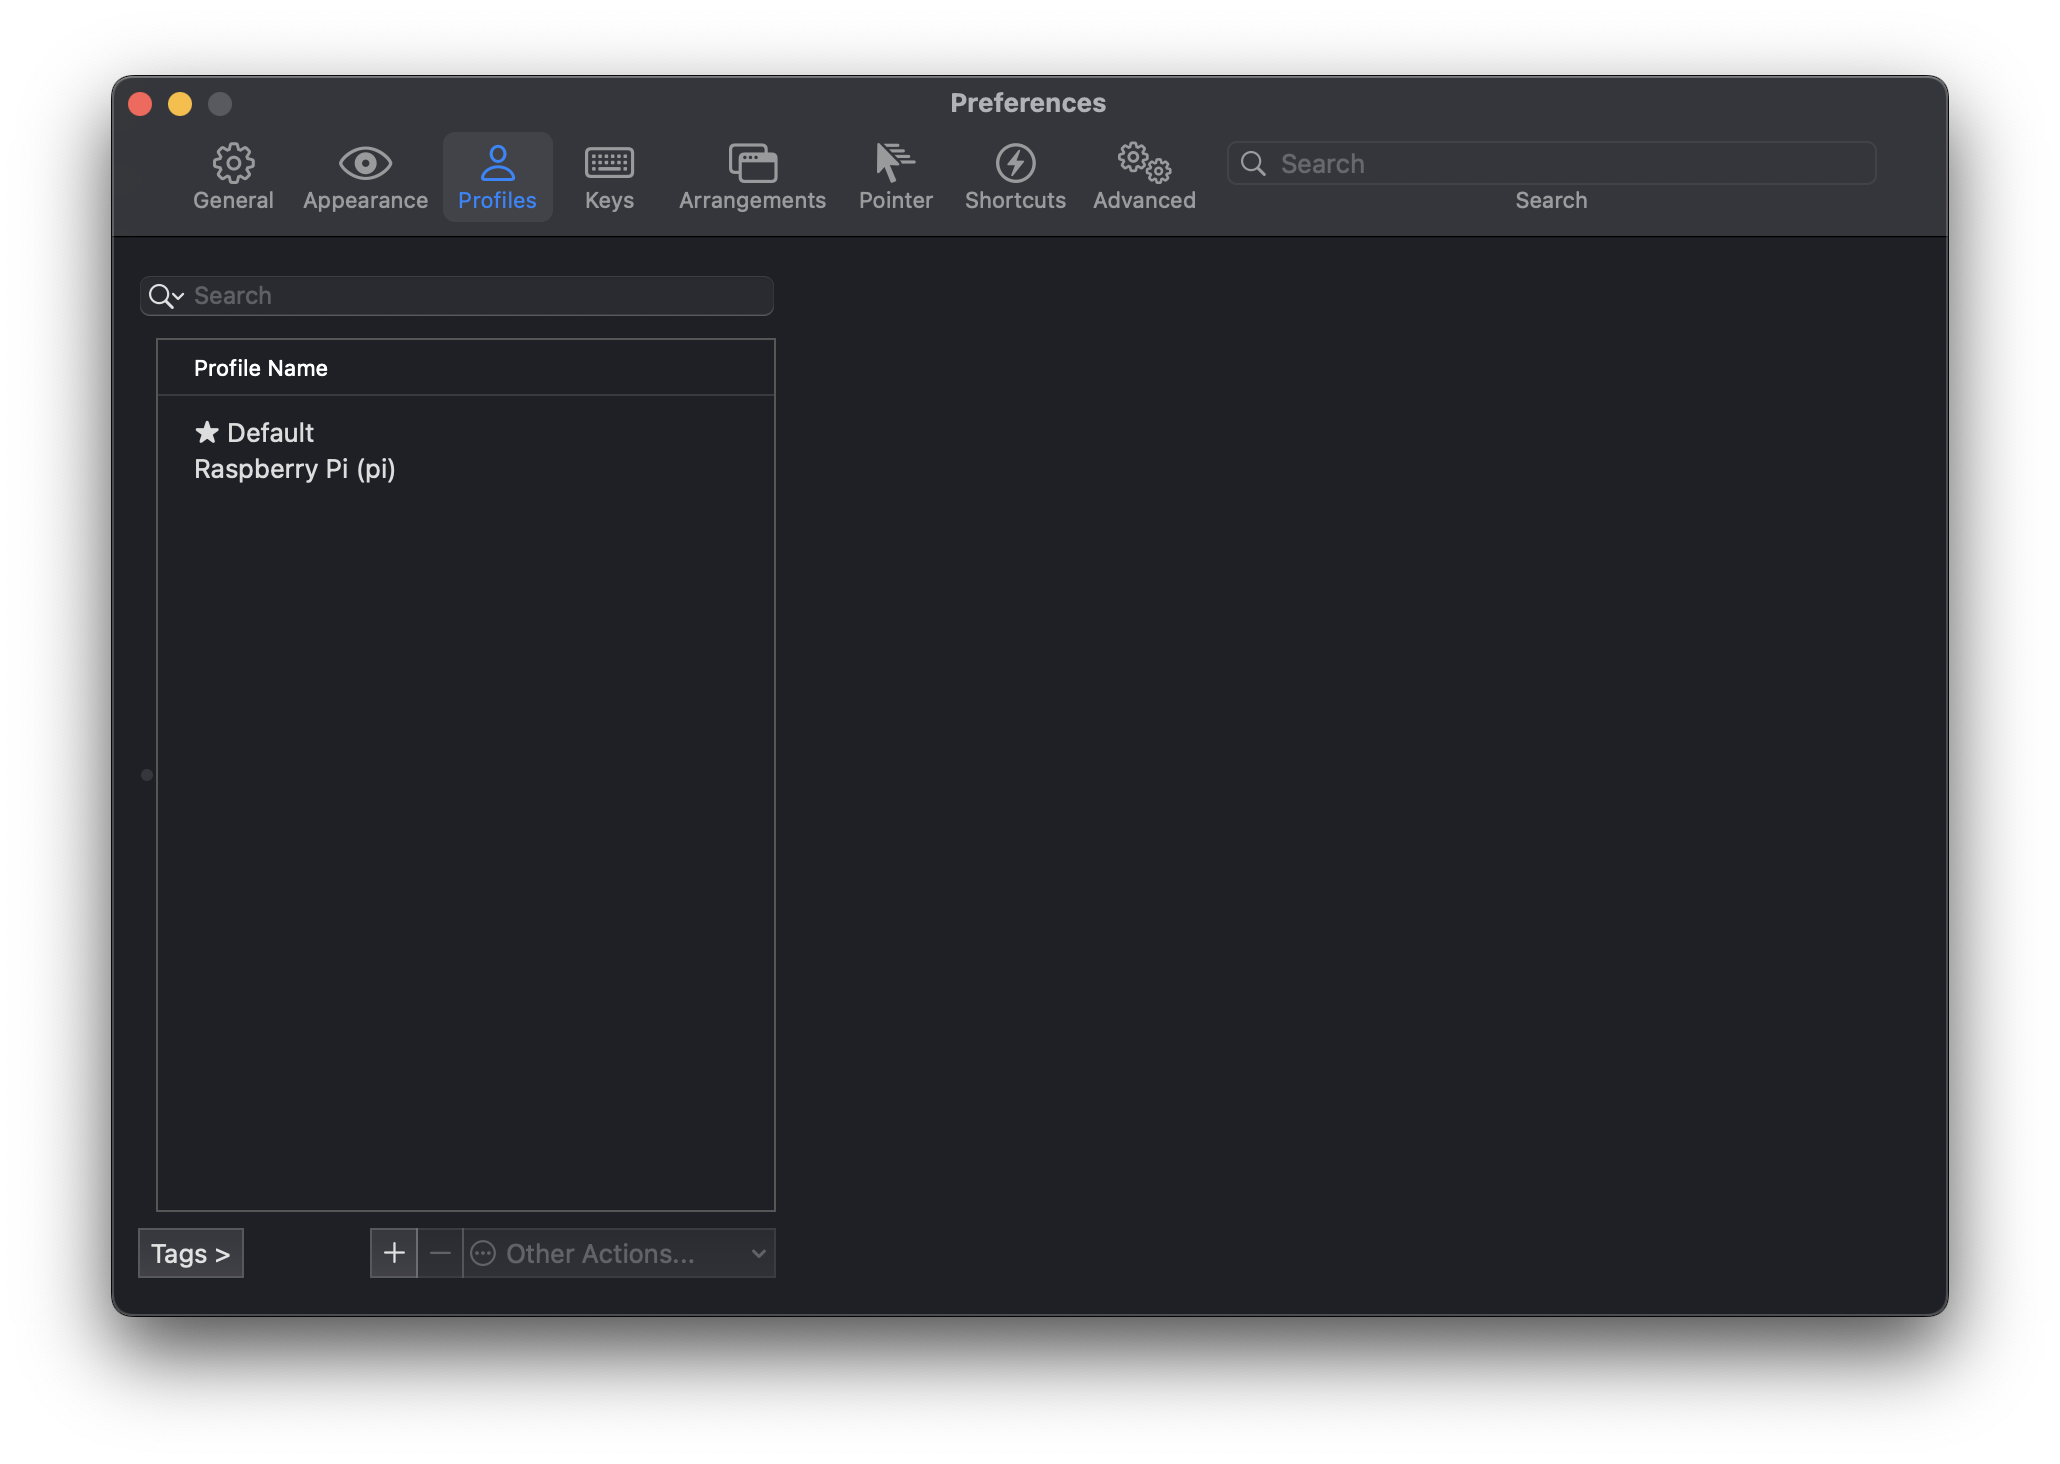
You always begin with the Default profile (seems legit), and as you can see on [Figure 1], which contains pre-configured features such as the terminal’s colours and fonts, cursor types, bells, etc.
To add a new profile, just navigate to Preferences → Profiles, and then click on the + symbol under the list of Profiles. Or you can just edit the default profile, if you want.
You can play around for a while, there are plenty of options. But my personal recommendations are:
- Color Presets
- Font: Use
MesloLGS NF, size 13. You will thank me later. - Window Blurr and Transparency, something around 15 for both.
And now the juicy part: Automations.
Make iTerm2 work for you
Let’s say you want to display a big red warning when going su -. You can do that. Indeed, whatever action that discourages the use of root user should be welcome.
You can set up a shortcut to switch to a specific profile. Alright. But what if the change could be triggered automatically Moreover, what if you could open a specific SSH session to a Server when switching to a profile?
This can be achieved with Login Commands and Automatic Profile Switching.
But wait! There’s something to do before
First you have to install iTerm’s Shell integration on every profile (server and user) you want it to integrate with! This is, your local machine, both for your user and root and any remote server.
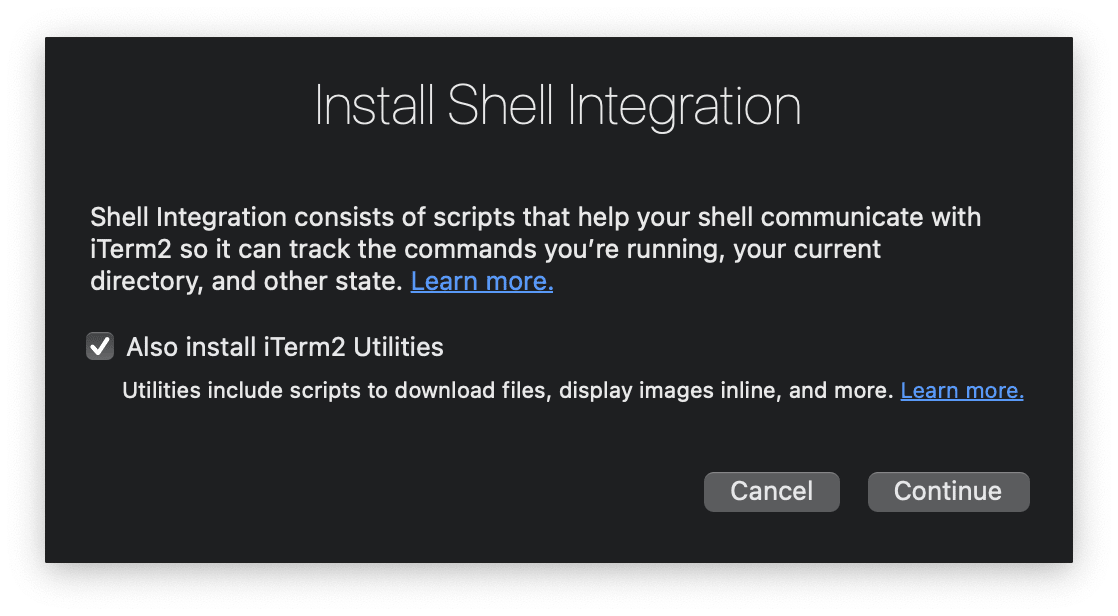 Figure 2. Install Shell integration wizard.
This can be easily done just by navigating to iTerm2 → Install Shell integration and follow the wizard. I personally recommend the default option Download and run installer, but if your machine has no internet access, you can do it offline.
Any profile automation will not work unless the shell integration is installed!
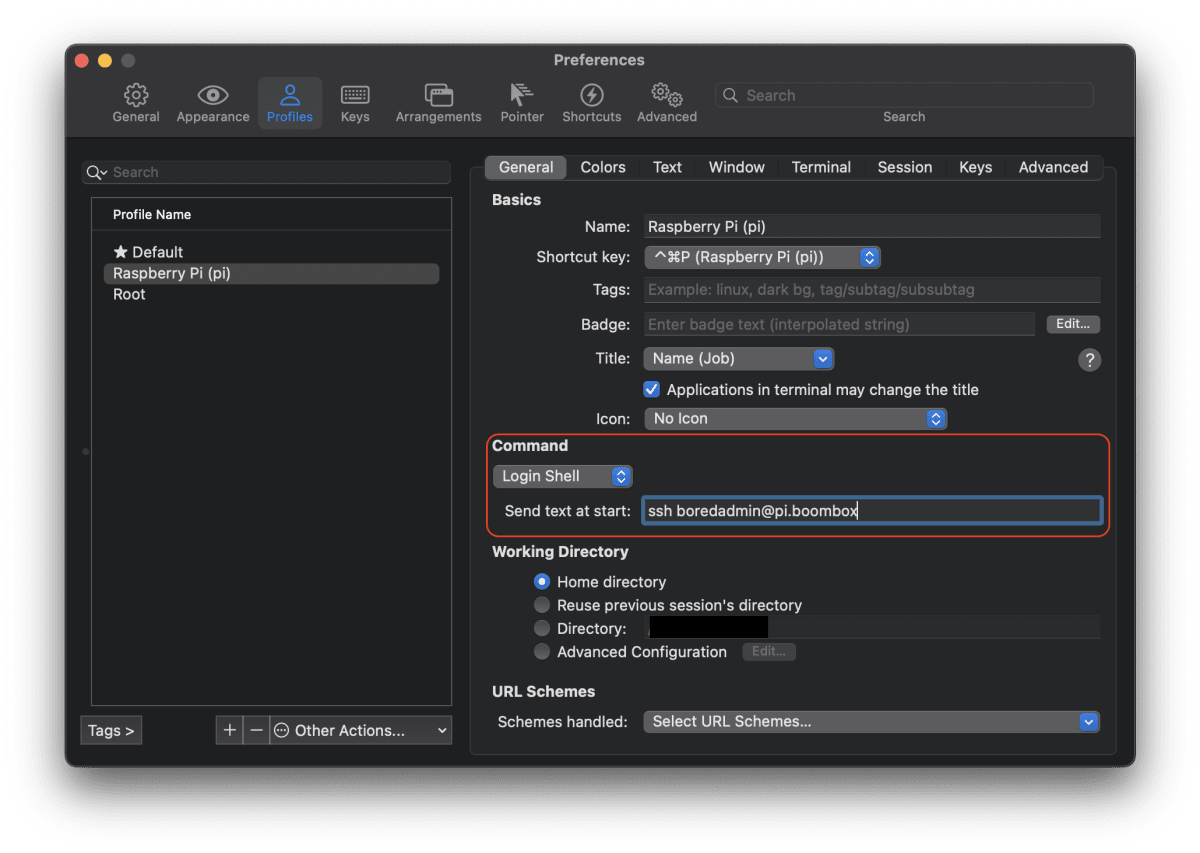
Back to the profiles, Loging Command is a command that will be used whenever switching into a profile manually.
In the example, whenever I select the profile Raspberry Pi, iTerm will ssh into pi.boombox. On the dropdown, you may find other alternatives, such as Custom Shell (i.e., use zsh for a specific profile) or just a plain Command. As if iTerm was a Remote Connection Manager (Did you see the Tags field on [Fig. 3]? 😇)
I left the best for the end: Automatic Profile Switching.
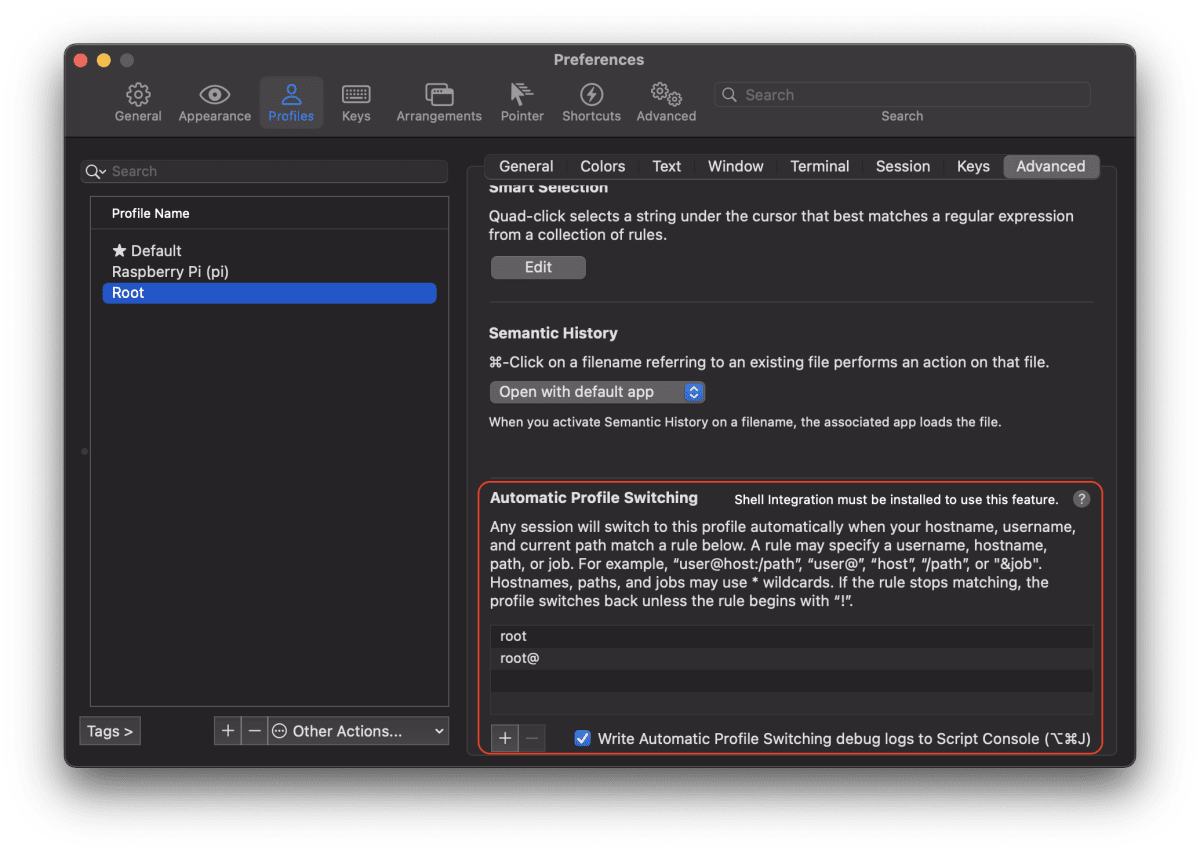
Navigate to your Preferences → Profiles → (your profile) → Advanced and have a look at Automatic Profile Switching. With this setting, iTerm will switch into this profile whenever a prompt/session matches any of the strings in this section. So if I add boredadmin@pi.boombox, and then manually ssh into my server, iTerm will switch into my profile. Have a look at the rule syntax; I usually just use the session prompt and it’s been working like a charm. And you can add as many rules as you want.
I indeed have a root profile to remember me that I am doing naughty things [Figure 4]. For this, I added the following rules to make sure that no session would go unwarned:
rootroot@
This will leave this marvelous look, on a normal session: 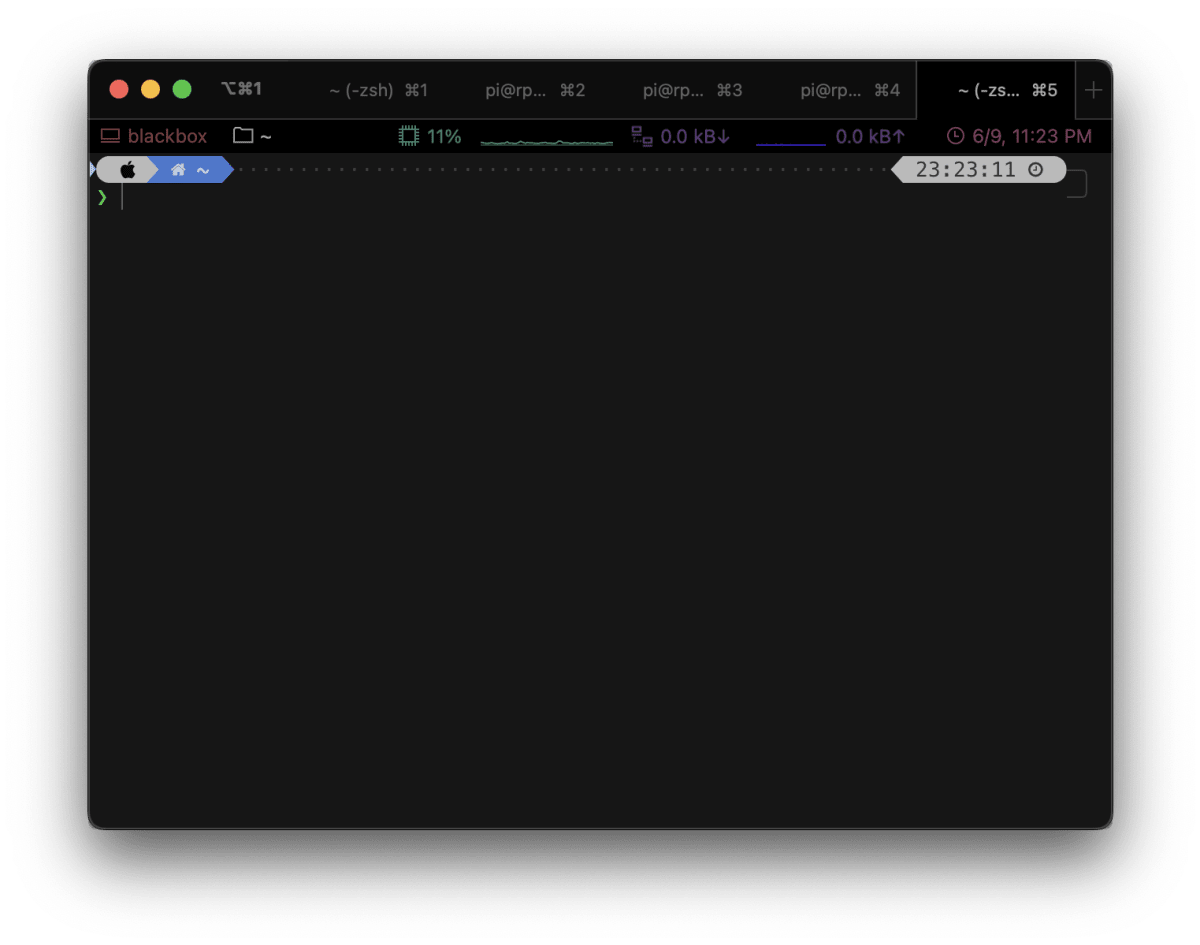
And a root session:
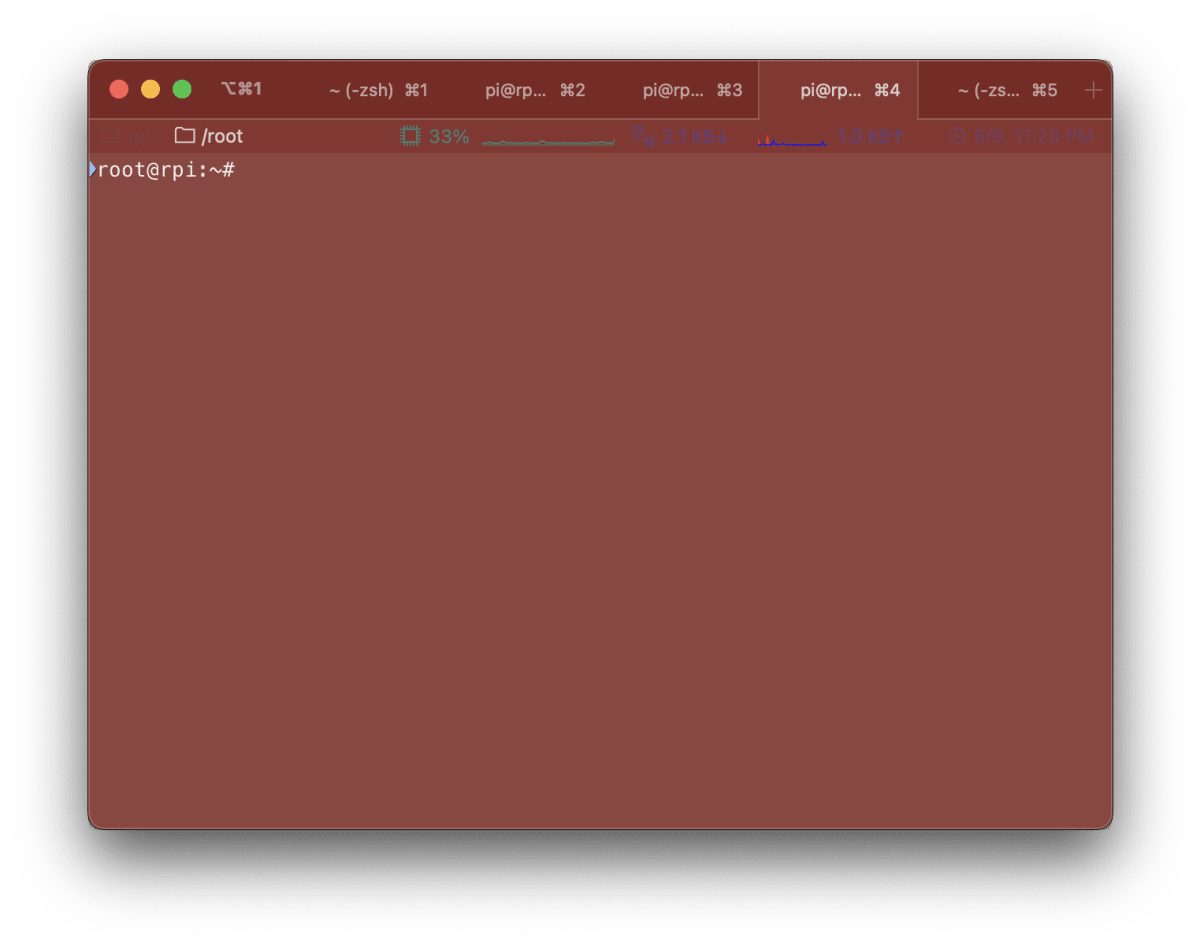
So if we put Login Commands and Automatic Profile Switching on the same basket, we can connect to a server remotely as if iTerm was a connection manager (ehem) and leave the monotonous terminal colours.
In future posts I will cover further integrations and tricks.
Hope it helps!
